
Microphone Technique
17/12/2013
If you’re not a classical singer, chances are big you’re using a microphone when on stage. Knowing how to work with it is crucial, if you want to make the most out of your vocal performance.
Beo Van Haver and me explain everything (and so much more) in the webinar Microphone Technique & More. Subscribe to The singsing! Sofa Library to watch the recording!
Here’s a very useful overview of the most important things you need to know about microphones and some practical tips & tricks.
The spheres
The spheres are a way to describe the distance you create between your microphone and your mouth.

SPHERE 1
- Closest to the mic – from touching the capsule with your lips to 1 / 2 cm away.
- Only suitable for very low volumes.
- Bass boos / Proximity effect: Low frequencies are amplified more than middle and high, which results in more “body” in the voice. A sultry, breathy voice works perfectly here. Sphere 1 makes it sound rich and broad, which is impossible without a microphone.
SPHERE 2
- Further than 2 cm away from the capsule. This is the sphere you use the most.
- All frequencies of your voice are picked up equally.
- When you sing louder, pull the microphone away a bit more than when you sing more quietly.
SPHERE 3
- You pull the microphone so far away from your mouth, that your arm is nearly stretched.
- Here, the microphone only picks up the higher frequencies of your voice.
- You are more audible acoustically than amplified – the microphone (and the shizzle that comes after) only adds a little element to your overall sound.
- Hence only suitable for intimate performances for a little amount of people, because they need to be able to hear you acoustically too.
Exercise: Practice singing a dynamic song in a microphone while looking at the lights of the input-volume on the mixing console. Your task is to keep them at the same level at all times! Quite frustrating in the beginning, but oh my, how you get to know the spheres like this 😉

Holding your microphone
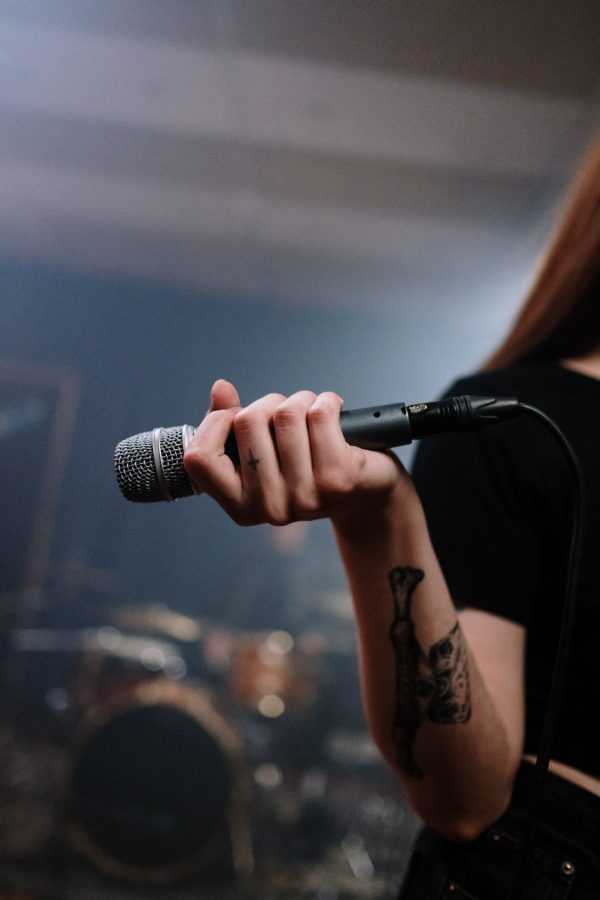
Hold it a bit angled at the level of your chin. Above all sing straight into the microphone unless you want to obtain a special effect.
Cupping – holding the capsule of the microphone like many metal singers do or covering it with your hand / arm like Ronnie James Dio – creates a special muffled / muddy sound that you might like – especially combined with the extreme vocal effect grunt. But beware of feedback, the screeching sound coming from the speakers! You also make the job of your sound engineers a lot more difficult like this, and you really don’t want to get them into a bad mood 😉 Never – ever aim the microphone towards the speakers or monitors, as that will create feedback for sure!
Exercise: Practice singing with a microphone with the sound (backing track + your voice) only coming through your headphones, not a speaker. Now you hear what the audience will hear, without hearing your voice acoustically, so you can practice functionally.
Buying a microphone
Every microphone is unique. They all favor different frequencies and thus change your sound. Take your time to choose and don’t economize. It is a crucial lengthening of your voice that will define your sound substantially. If you’re a beginner at this, don’t hesitate to ask advice to the people at the shop, friends, colleagues,… Use extra sets of ears that will help you to know what to listen for when trying out microphones. Tip for beginners: Yes, Shure SM58 provides good quality for your money. But it’s not because it’s the most popular (best marketed…) microphone, that it also works for your voice! Test as much microphones as you can.
There are roughly 2 types of microphones that are used the most for amplifying voices. Make sure you know what you need, when choosing your mic! For many live performances, you will need a dynamic microphone. As its pick up pattern is cardioid – it will pick up sound mostly at the front of the microphone, it is suited for louder bands. A condenser microphone is much more sensitive and will also pick up the sound of the other instruments surrounding you. Hence, these microphones are mostly used in studio or for more intimate live performances.
General tips
- Make sure you don’t drop your microphone and protect it (also from moist) during transport.
- Allow your mic to heat up a bit before using it, when it has been stored in a cold place, because condense will ruin it.
- Smoke is bad for your voice ànd for your microphone. The tarnish on the membrane of the mic will dampen high frequencies.
- During a sound check, you sing a song. Don’t hit or blow into your mic, especially not a sensitive condenser mic, as it could damage the diaphragm.
- Don’t forget the batteries + spares if your mic needs them… I know what I’m talking about 😉
What happens after the microphone?
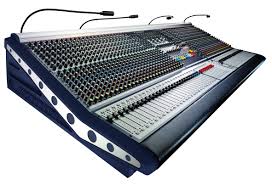
Your microphone is just the beginning… Make sure you have some basic knowledge of equalizing, compression and effects like reverb and delay by watching the webinar! You will be able to communicate clearly with your sound engineers during the sound check and make them perfectly clear how you want your voice to sound. Don’t leave it all up to them as it is quite possible that their artistic opinion doesn’t match yours 😉
Do you want to learn how to use your microphone ànd understand how to use everything that happens after?
Subscribe to The singsing! Sofa Library, watch the webinar Microphone Technique & More, led by audio expert Beo van Haver and me, so you can take charge over your sound!

Peter Smaal - Organizer of Top 2000 Nijmegen
Peter Smaal - Organizer of Top 2000 Nijmegen

As always, feel free to send me your thoughts, questions, and feedback in the comments below this blog, via the contact form or in the singsing! online community
Cordially,
Sarah

